


Ever wonder if a simple tool might save you a ton of time at the tire shop? A tire bead breaker could be the answer. It's a handy tool that uses steady force to free the tire's edge (the part that sits on your wheel) from the rim.
Whether you go with a basic manual model or a fancier shop-ready version, there’s a design that works for you. In this post, we break down how these tools work and show you why they help you work faster, more efficiently, and with better results on your tires.
What Is a Tire Bead Breaker and How It Works

Imagine a tire bead breaker as your handy tool that gently pops the tire's edge away from the rim. It does this by steadily applying force, so the tire quietly lets go of the wheel. You can find these tools in simple forms, like a lever or duck bill design, or in tougher, shop-ready versions that use air and hydraulic pressure. One person even shared a story about a homemade breaker that worked well for over 55 years, which shows how solid design and proper care can make a big difference.
Usually, these tools work by using a wedge or steady pressure to nudge the tire bead over the rim’s edge. You place the tool exactly at that spot where the tire meets the wheel, then give it a firm tap or push until the tire starts to release. For example, a basic manual tool with a duck bill design only needs a few careful taps to do the job, proving that controlled force is both safe and effective.
These tools are made for different tire sizes and needs. Lighter designs work great on car tires, while bigger ones are needed for trucks or farm tires. It really comes down to picking the right tool for the tire you're dealing with and how often you plan to work on it.
Comparing Types of Tire Bead Breakers

When it's time to pop the bead on your tire, you've got a few choices. Each tool takes its own approach, just like picking the right gear for a road trip. Manual bead removal tools, such as slide-hammer units with 80 to 90 lb sliding weights, work well for tougher tires even if they ask for a bit of elbow grease. Then there are hydraulic rim separators, which can range from shop-grade air-over-hydraulic systems to clever homemade setups using 10-ton jacks and layers of 2×4 blocks.
Some folks like pneumatic dislodger devices that use pressurized air cylinders to deliver a quick, steady push. And if you're into DIY projects, you can build your own separator kit. This might mean rigging up a vice-mounted adaptor, a brake disc setup with a car jack, or even a JCB stabiliser leg for extra leverage.
-
Manual bead removal tool
Pros: Simple design, low cost, and well suited for light to moderately heavy tires.
Cons: It can take a lot of physical effort and might struggle with really stubborn beads. -
Hydraulic rim separator
Pros: Provides steady and controlled force that's great for heavier tires.
Cons: It's more expensive and usually needs more room in your workshop. -
Pneumatic dislodger device
Pros: Offers fast action with consistent pressure while cutting down on manual effort.
Cons: It needs an air supply and may not hit the same level of precision as hydraulic systems. -
DIY separator kit
Pros: A cost-effective and customizable option using everyday materials.
Cons: Requires some handy work and setup time, which might lead to uneven results if not built just right.
Choosing the right tool depends on your tire size and how often you'll be using it. Happy tire work, and enjoy finding the one that fits your needs!
Key Features and Technical Specifications of Tire Bead Breakers

These tire bead breakers are built tough. They use strong frame materials and hardened steel parts (steel treated to stay hard) to prevent the thread from stripping when you work on them. Manual versions, like a small duckbill tool that weighs under 5 lbs, work by using a slide hammer that adds an 80–90 lb push, one bit at a time. In contrast, hydraulic systems use a smooth pump action to lift up to 10 tons with ease. Pneumatic types use pressurized air cylinders to quickly release the bead. And if you’re looking to save a few bucks, there are DIY setups that use regular hardware.
| Feature | Manual | Hydraulic | Pneumatic | DIY |
|---|---|---|---|---|
| Force Capacity | Moderate (slide weight 80–90 lb) | Up to 10 ton | Rapid burst pressure | Varies with setup |
| Unit Weight | Under 5 lbs | 50+ lbs | Light to moderate | Depends on materials |
| Portability | High | Lower | Moderate | Variable |
| Estimated Cost | Low | High | Moderate | Low |
Each detail here affects how the tool performs and what it’s best used for. The force capacity tells you if a tool is right for light car tires or the heavier tractor tires. Unit weight and portability become important if you’re tight on workshop space or need to move things around easily. And of course, the cost is a big factor when planning your tools budget (you can check out tire installation tools at https://tityres.com?p=595). In the end, choosing the right breaker means matching these technical details with what your tire removal job really needs.
Tire Bead Breaker: Fast, Efficient and Reliable
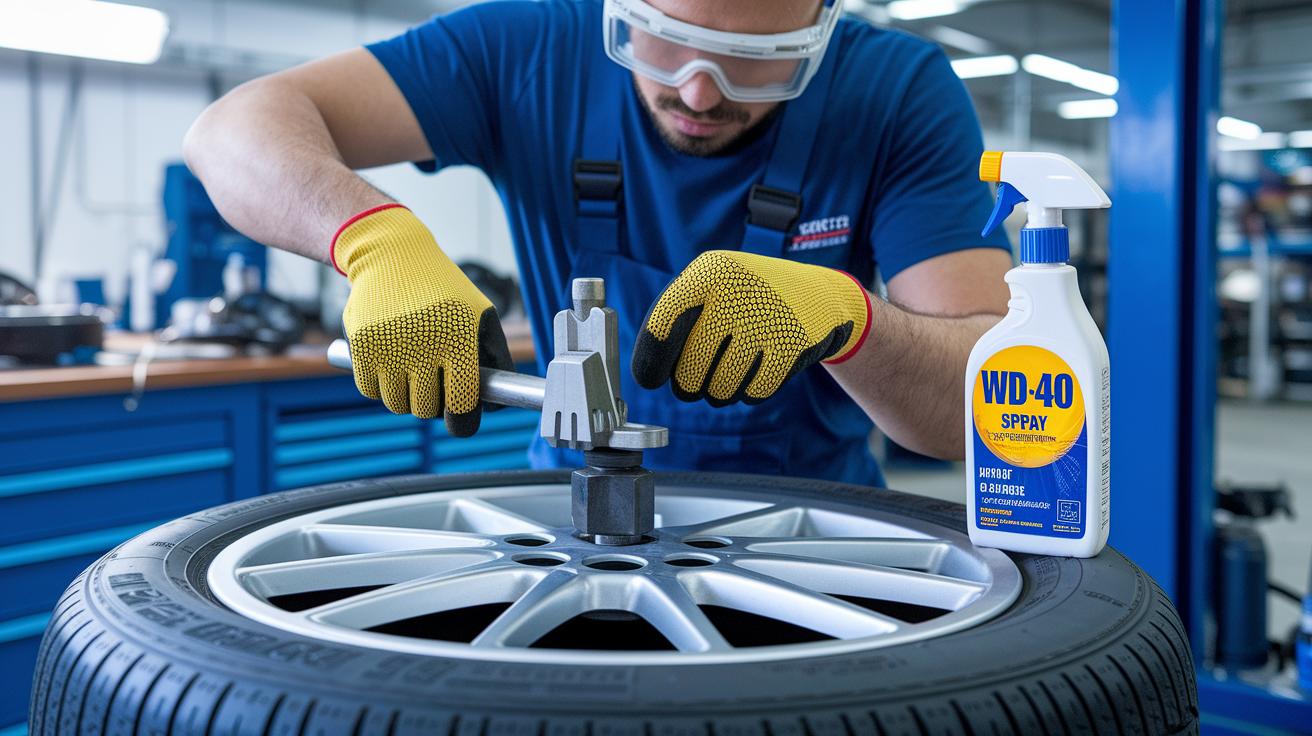
Before you start any tire bead breaking job, set up your workspace. Make sure the tire is clean and held securely in a vice or stand. Then, spray WD-40 or a tire-specific bead lube (a special lubricant made for tires) along the rim where the bead rests. Keep your tools close at hand, whether it’s a manual bead breaker, hydraulic jack, or DIY brake disc setup, and wear your gloves and goggles for safety. A little prep can really smooth out the process, like oil in a well-tuned engine.
First, try the manual method. Position your tool so that its duck bill fits snugly between the rim edge and the tire bead. Then tap steadily with your hammer or slide mass until you see the bead start to move. Feel each tap as it nudges the bead along. This careful, rhythmic action helps unseat the tire without causing any damage.
If you choose a hydraulic unit, make sure to anchor the tire securely first. Then, gently pump the jack in small, quarter-turn steps. Watch as the bead slowly releases with each bit of hydraulic pressure. A calm and steady approach prevents too much force from being applied at once.
For a DIY method, set up a brake disc with a car jack so that the disc lowers onto the tire rim. Lower the jack gradually while making sure the setup stays balanced and secure. Take it slow here, since a shaky setup can result in uneven bead removal.
Safety and Maintenance Best Practices for Bead Breakers

Before you start, gear up properly. Put on your goggles and gloves to keep your eyes and hands safe while you work. Secure the tire in a sturdy stand or vise (a tool that firmly holds an item) so it doesn't slip. And don’t use impact wrenches on threaded parts because they can damage the threads and harm your tool.
After every use, take a careful look at your bead breaker. Check parts like the welds, pins, and blades once a month to catch any wear or damage early on. Every 10 uses, clean the moving parts to get rid of dirt or metal shavings that might slow things down. A little bit of machine oil goes a long way, keeping everything running as smoothly as a well-tuned engine.
When you're not using it, store your bead breaker in a dry place. This helps prevent rust and keeps your tool ready and reliable for the next time you need it.
Performance Comparison of Commercial and DIY Bead Breaker Solutions

Commercial manual tools, like the Harbor Freight duck bill, are budget-friendly and work well if you only change tires about four times a year. They do the job, but using too much force can damage the threads. In busy shops, a shop-grade hydraulic bead breaker (which costs over $1,500) is a safer bet because its pump action applies steady force, reducing hand strain and mistakes.
Slide-hammer tools rely on an 80- to 90-pound sliding weight that builds force bit by bit on heavy tractor tires. This works best if you don’t mind putting in extra physical effort. On the flip side, shop-grade hydraulics give a smooth, consistent result every time, making them easier and more comfortable to use.
DIY bead breaker setups, like those you can build with a brake disc and car jack, come in under $100. They need some careful tweaking to work right, so they’re best for occasional users or those who enjoy a little trial and error, unlike the steady performance you get with commercial-grade units.
Selecting the Right Tire Bead Breaker for Your Application

If you're a home user who changes car tires only every now and then, you might find that lightweight models like duck bill or slide-hammer units work just fine. For busy workshops that handle tire changes regularly, you'll want a tool that fits nicely within your work area. And if you're in farming or run a commercial fleet, you'll need a tougher system built to handle those big, agricultural tires.
When you’re choosing a tire bead breaker, keep a few simple things in mind: the size of your tire, how often you change them, your budget, and the space available in your workshop. If you're just swapping out tires occasionally and need something compact that doesn't take up too much room, a smaller model should do the trick. But if you work on a variety of tire sizes or change them frequently, it's best to opt for a tool with stronger force and steady performance. Of course, price matters too, you want a dependable tool without overspending for lighter duties.
So, if you're a homeowner or casual user, affordable duck bill or slide-hammer models are a great pick. For those in workshops or managing fleets, hydraulic or air-over-hydraulic systems might be more suitable. And if you enjoy DIY projects, a budget-friendly kit can be a fun, practical choice for less frequent tire work.
Final Words
In the action, we looked at how a tire bead breaker works by applying pressure to the tire bead. We dived into various designs, from simple manual hammers to robust hydraulic setups and even DIY kits. The guide broke down the technical specs and laid out step-by-step instructions for safe use, along with handy maintenance tips. A quick performance check showed how different choices suit everyday needs. Remember, a well-chosen tire bead breaker helps you keep your ride safe while delivering reliable performance. Enjoy the smooth drive ahead!
FAQ
Q: What does a tire bead breaker do?
A: The tire bead breaker applies controlled force at the tire bead and rim interface to unseat the tire bead, making tire removal and repair simpler.
Q: What size tires can a bead breaker handle?
A: A bead breaker can manage a range of tire sizes from regular car tires to larger ones, though each tool’s capacity may limit the maximum size it can effectively handle.
Q: Do bead busters work on all tire sizes?
A: Bead busters work on many tire sizes, but some models may not suit very large or heavy tires, so it’s best to match the tool’s capacity with your tire dimensions.
Q: How can I break a tire bead without a bead breaker tool?
A: You can break a tire bead using a tire bead breaker hammer or other manual methods, applying steady force along the bead’s edge—just be sure to use safety gear and proper technique.
Q: What are common types of tire bead breakers available?
A: Tire bead breakers come in several types including Harbor Freight models, manual tools, heavy-duty devices, and versions with swan necks or bars, each designed for different tire applications.
Q: Where can I find a tire bead breaker nearby?
A: Many local auto parts stores, hardware centers, or online retailers stock tire bead breakers, so check these sources to find a model near you.
Q: What is a homemade tire bead breaker?
A: A homemade tire bead breaker is a DIY tool built using everyday materials that mimics commercial designs by applying pressure to the tire bead for safe and effective bead removal.
Q: How does a tire bead breaker with a swan neck differ?
A: A tire bead breaker with a swan neck uses a curved lever design to apply pressure more effectively at the tire bead, making it a useful option for certain tire removal tasks.
