


Ever wondered why your tire might suddenly lose air? Let's chat about tire bead seating. This is the process that helps your tire lock onto the wheel with a snug, airproof seal. Think of it like a firm handshake that keeps everything secure.
When your tire seals correctly, your car rides smooth and stays safe on the road. You avoid those annoying leaks that can interrupt your drive. Ever notice how a steady ride just feels better?
Stick with us as we dive into this simple yet crucial part of tire installation. We'll show you why it matters so much for every journey you take.
How Tire Bead Seating Creates an Airtight Wheel Seal
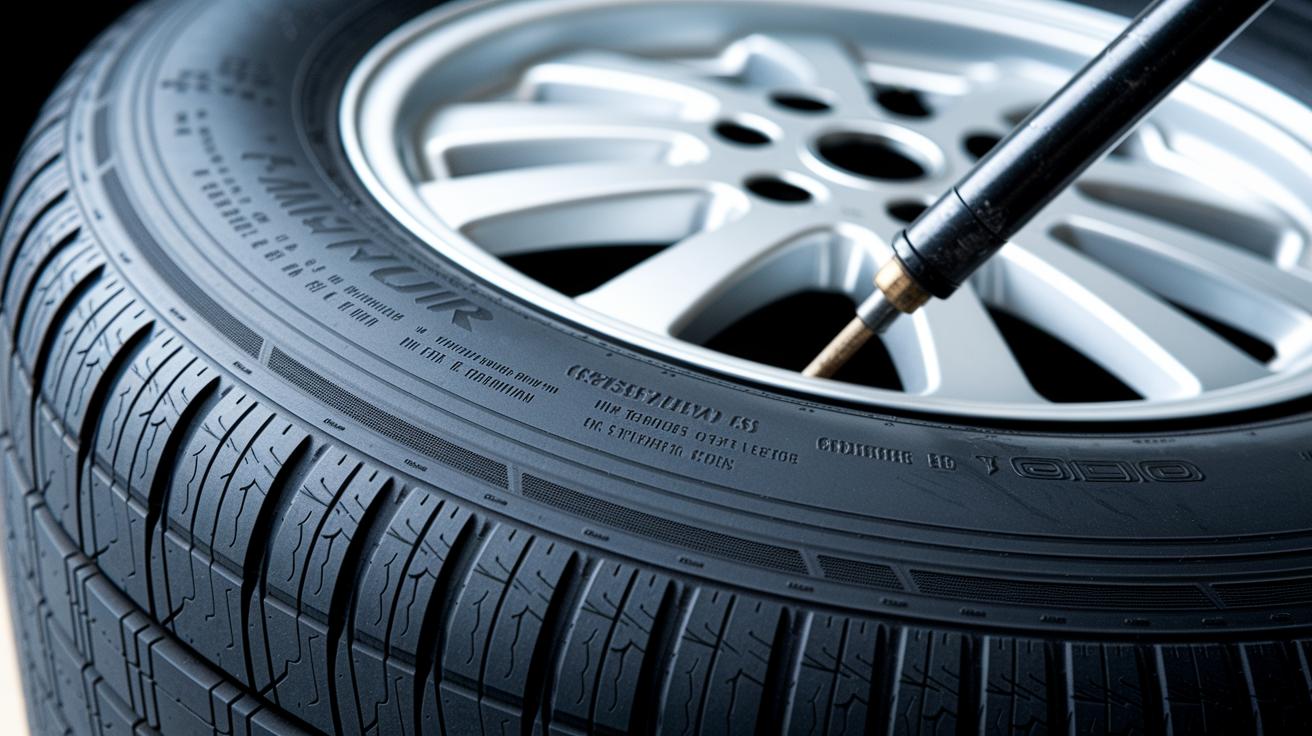
The tire bead is the strong inner edge made of high-tensile steel wires wrapped in soft rubber. As you slowly inflate the tire, the air pushes the bead snugly against the rim’s inner lip, much like a firm handshake. This action locks in the air and keeps the tire securely on the wheel, while also reducing any small gaps that might let air escape or affect how well the tire sits.
Not only does the bead seal in the air, but it also helps transfer your vehicle’s weight from the tire to the rim. Even a small scuff or nick can weaken this bond and cause tiny air leaks over time. When the bead isn’t seated correctly, you risk losing that airtight cover and the tire’s strength. Soon enough, you might find yourself needing to add air more often or even replace the tire if the damage gets worse.
Equipment, Lubrication, and Rim Preparation for Effective Bead Seating

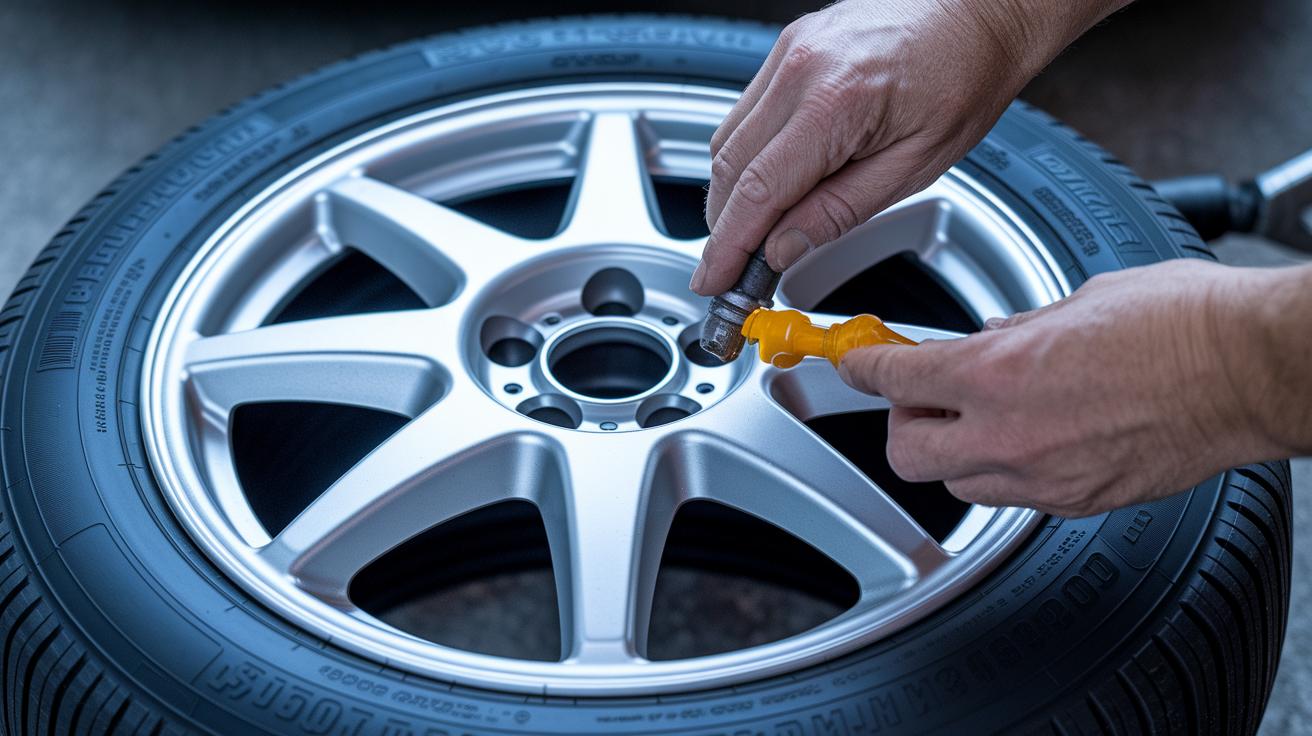
Getting the tire bead to fit snugly starts with using the right tools and preparing your rim well. With gear like bead lubricant and a tire installation machine, you help the tire edge slide in easily to form a tight, air-free seal. Think of it like cleaning a surface before painting, a clean rim without rust, dirt, or leftover rubber makes all the difference.
When your rim is spotless, every step feels smoother. It’s like checking your car’s oil before a long trip; calibrated tools such as accurate pressure gauges ensure that the mounting force is even so you don’t end up with pressure spots that cause leaks. A little care here goes a long way, and honestly, it saves you headache later.
Using proper lubrication not only cuts down on friction when mounting the tire but also fills in tiny imperfections along the rim. That extra bit of attention means the bead locks in securely every single time, and you can trust that your work is safe and steady.
| Tool/Equipment | Purpose | Notes |
|---|---|---|
| Tire bead lubricant | Friction reduction & seal aid | Water-based preferred |
| Rim cleaning brush | Remove debris & rust | Nylon bristles |
| Bead seating tool | Align & secure bead | Hand-held or machine-mounted |
| Pressure gauge | Monitor inflation | Calibrated to ±1 psi |
| Tire installation machine | Apply uniform mounting force | Pneumatic models |
When everything is chosen carefully and set up right, the whole bead seating process becomes predictable and secure. Ever notice how paying attention to small details, like double-checking your gauge settings, can make a huge difference? It’s all about making sure that every part of the process works together, so you drive away with confidence.
Step-by-Step Tire Bead Mounting and Inflation Process
Getting your tire bead into place and inflating it might seem tricky, but it’s really simple when you take it step by step. First, set up your workspace with a clean rim free of any debris and plenty of lubricant to help the bead slide into its groove. Align the tire beads with the rim’s grooves exactly as they should fit, and start with a low pressure. This low-pressure start lets you hear that small "pop" which tells you the bead is beginning to seat properly. Then, gradually add more air while turning the wheel by hand so the beads settle evenly. This method works great for everyday cars needing about 30-35 psi and for heavier vehicles that might require 40-45 psi. Taking it slow really helps avoid problems like misalignment or slow leaks.
- Clean the rim and apply the bead lubricant evenly to cut down on friction.
- Carefully set each bead into its groove on the rim, making sure they line up correctly.
- Use the proper tool to secure the bead in place and keep it steady.
- Slowly rotate the wheel by hand to ensure the tire makes uniform contact all around.
- Begin inflating at just 10 psi and pause to listen for that initial bead "pop."
- Increase the pressure in small steps (about 2 psi at a time) until you hit your target pressure.
- Visually check the bead to be sure it’s aligned correctly and look for any signs of leaks.
After you’ve finished these steps, do one final pressure check and note your readings. This confirms that the tire bead is fully seated and good to go for a safe ride.
Troubleshooting Tire Bead Seating Errors During Installation

Sometimes, dirt or not enough lube can stop a tire bead from settling right into the rim. Even a tiny bit of debris can start bead galling (that’s when the edge of the tire wears unevenly and messes with the seal), letting air leak out slowly. A hit from a curb or a pothole may bend the bead so it doesn’t seal properly. And if you keep seeing low tire pressure without any clear puncture, it might mean the bead isn’t seated correctly or the rim might be corroding.
If you think a seating error is causing issues, you can try using manual reseating tools to fix minor alignment problems. But if the bead looks bent or the seal won’t hold no matter what, it’s best to get a professional bead seater to check things out. Before mounting a tire, be sure to clean the rim well and use plenty of lubrication. It’s a simple step that can help you avoid these problems in the future.
Safety Measures and Best Practices for Tire Bead Seating

Before you begin, make sure you keep yourself and your area safe. Wear your safety glasses and gloves to protect your eyes and hands in case a bead suddenly pops during inflation. Keep everyone away from the tire's path so you can work without any extra distractions. It’s also a good idea to use rim guards, which help protect both the wheel surface and inner tubes from accidental bumps or damage. These easy safety steps help keep your work area secure and prevent small errors from turning into big problems.
Next, check that your pressure gauges and seating tools are set correctly and working as they should. Think of writing down the seating pressures and tool settings like keeping a quick log for each mounting session. This simple record makes it easier to spot any issues early and keeps your work consistent. Taking these careful steps helps lower the risk during tire mounting and makes your process smoother while keeping your tools in top shape.
Advanced Tire Bead Seating Applications: Beadlocks and Heavy-Duty Setups
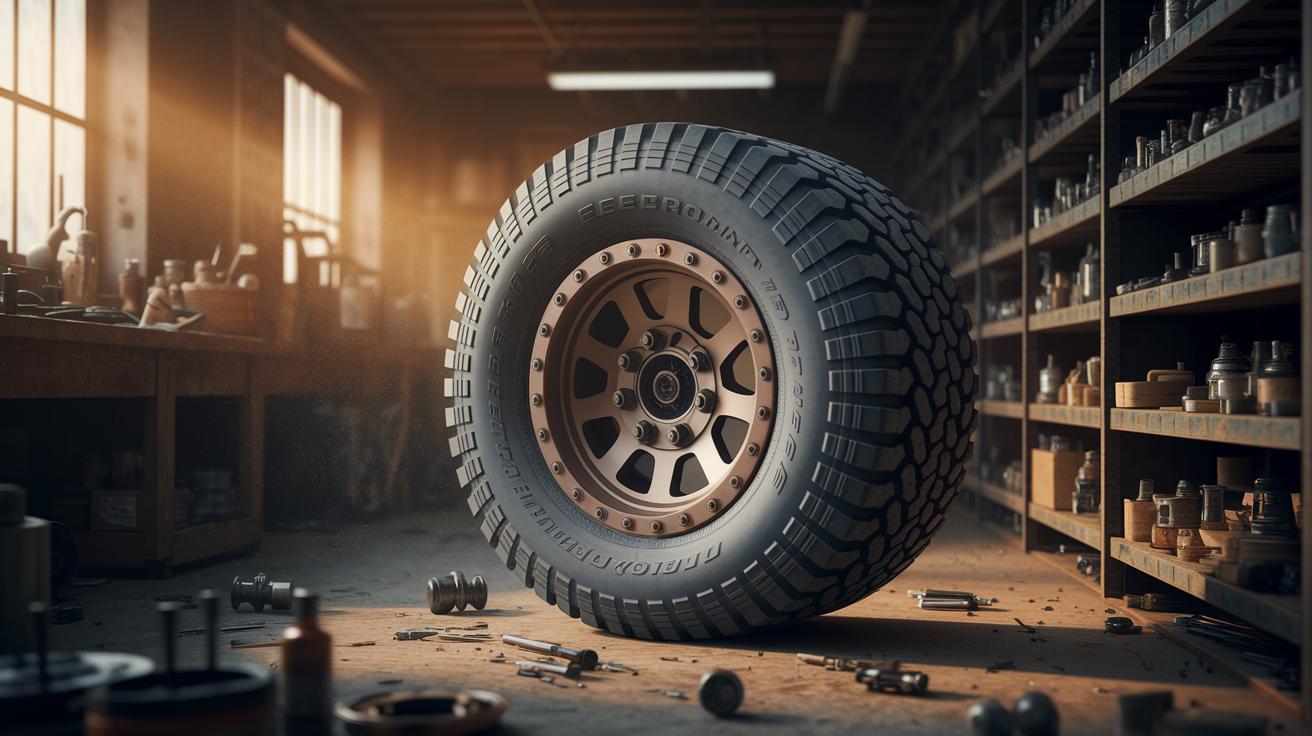
Standard tire seating works by using air pressure to press the bead against the rim. But advanced systems take a different approach, using extra techniques to lock the tire in place even in tough, demanding conditions. For off-road trips or heavy-duty trucks, these setups are designed to handle low air pressure and extra weight. They feature thicker steel bands treated with rust-resistant coatings, which help spread out the load more evenly.
Beadlock Wheel Seating
Beadlock systems work by clamping the tire’s bead with a bolted ring. This method keeps the tire securely attached to the rim, even when air pressure is kept very low on off-road adventures. It’s important to tighten the clamp to the right level so that the tire stays firmly in place and works well with the rim.
Dual Rear Wheel Bead Seating
With dual rear-wheel setups, lining up the beads correctly on both sides is really key. When the tires line up perfectly, the weight gets spread out evenly, which helps the vehicle handle heavy loads more safely. Special installation tricks create a strong link between the tires, making sure each one shares the load and stays in place.
Final Words
In the action of mounting a tire correctly, we explored how the bead seating process secures an airtight seal and supports proper load transfer. We broke down everything from bead mechanics and essential equipment to step-by-step mounting and safety checks. Each section showed how vital careful handling is, from cleaning the rim to hugging the ideal pressure. Focusing on understanding tire bead seating during installation builds trust in your ride. Here’s to smoother rides that keep you safe on every road.
FAQ
How do methods like WD40, fire, starting fluid, or brake cleaner work for seating a tire bead?
Using WD40, fire, starting fluid, or brake cleaner to seat a tire bead is unsafe. These methods can damage the bead and compromise the seal. It’s best to use a proper, approved bead lubricant.
How do I seat a tire on a rim at home?
Seating a tire at home means cleaning the rim, applying the correct bead lubricant, and gradually inflating the tire. This ensures the bead makes a snug, leak-free contact with the rim.
What is a tire bead sealer?
A tire bead sealer is a compound that smooths and lubricates the bead, helping it slide into place and form a tight, airtight seal between the tire and the rim.
What causes tire bead damage?
Tire bead damage is often caused by impact from curbs, potholes, or improper mounting. Such damage can prevent a proper seal, leading to slow air leaks and reduced tire performance.
What is the process for seating the bead of a tire?
The seating process involves positioning the tire bead on the rim lip, applying bead lubricant, and slowly inflating the tire. This gradual increase in pressure allows the bead to snap into place and create an airtight seal.
How can I tell if a tire bead is seated correctly?
A correctly seated tire bead will have uniform contact with the rim and no visible gaps. You may also hear a distinct “pop” during inflation, which signals that the bead is properly in place.
What is the 3% rule for tires?
The 3% rule for tires refers to maintaining tire pressures within 3% of the recommended value. This small margin helps ensure tire performance and safety by keeping pressure variations minimal.
How do I seat the bead on a new tire?
For a new tire, first apply an approved bead lubricant, then carefully align the bead on the rim. Gradually inflate the tire until the bead “pops” into place, confirming a secure and sealed fit.
