


Have you ever thought that skipping a quick car check before a tire change might end up costing you more than just a little extra time? Getting your car ready isn’t just another task, it can actually make your tire change go smoothly and keep you safe on the road.
In this guide, we take you through each simple step. First, we show you how to set up your work area and grab the right tools, kind of like getting ready for a fun road trip. Imagine finding a flat, solid spot and setting your parking brake (that’s the lever you pull to keep the car still). These easy steps can save you a lot of trouble later.
Ready to hit the road? Let’s get started.
Preparing Your Car for Tire Installation: A Step-by-Step Overview

Before you begin, find a flat, quiet spot away from busy traffic. Park your car securely and set the parking brake so it stays put. Then, turn on your hazard lights so others can notice you easily. It’s like picking a calm driveway for a quick check, safety always comes first.
Now, gather your tools and prepare your workspace. Here’s a handy checklist:
| Step | Description |
|---|---|
| Essential Tools | Grab your lug wrench, jack, and spare tire. |
| Clear Area | Remove any debris or obstacles so you have plenty of room to work. |
| Check Car Fluids | Take a peek at your oil, brake fluid, and coolant (the fluids that help your car run smoothly). |
| Wheel Chocks | Place them to keep the car from rolling unexpectedly. |
| Lighting | Set up proper lighting so you can see clearly. |
| Safety Gear | Wear gloves and safety glasses to keep yourself safe. |
Taking these extra steps makes the tire change smoother and safer. When you give your car a proper check, you not only save time but also help your tires last longer. This simple routine can reduce issues like annoying vibrations or unexpected blowouts. Plus, a well-prepped car makes other maintenance tasks a breeze, leaving you with peace of mind on every journey.
Essential Tools for Preparing Your Car for Tire Installation

Having the right tools makes changing a tire safe and easy. Each tool in your kit has its own purpose. Your lug wrench helps you loosen the bolts on your wheel. A torque wrench (a tool that tightens bolts to a set amount) makes sure everything is secure. A tire pressure gauge is there to check if your tires are pumped up properly, and inspecting the valve stems helps stop leaks. When you keep your tools organized, you can work faster and protect your car from any mishaps.
- Lug wrench
- Car jack
- Spare tire
- Torque wrench (set to manufacturer settings)
- Tire pressure gauge
- Wheel chocks
- Wooden board for soft ground
Set up your tools in a clean, bright spot before you start. This way, every piece on your checklist is easy to grab when you need it. For example, lay them out on a flat surface next to your car so your lug wrench or torque wrench is always right there, a real lifesaver on a busy day.
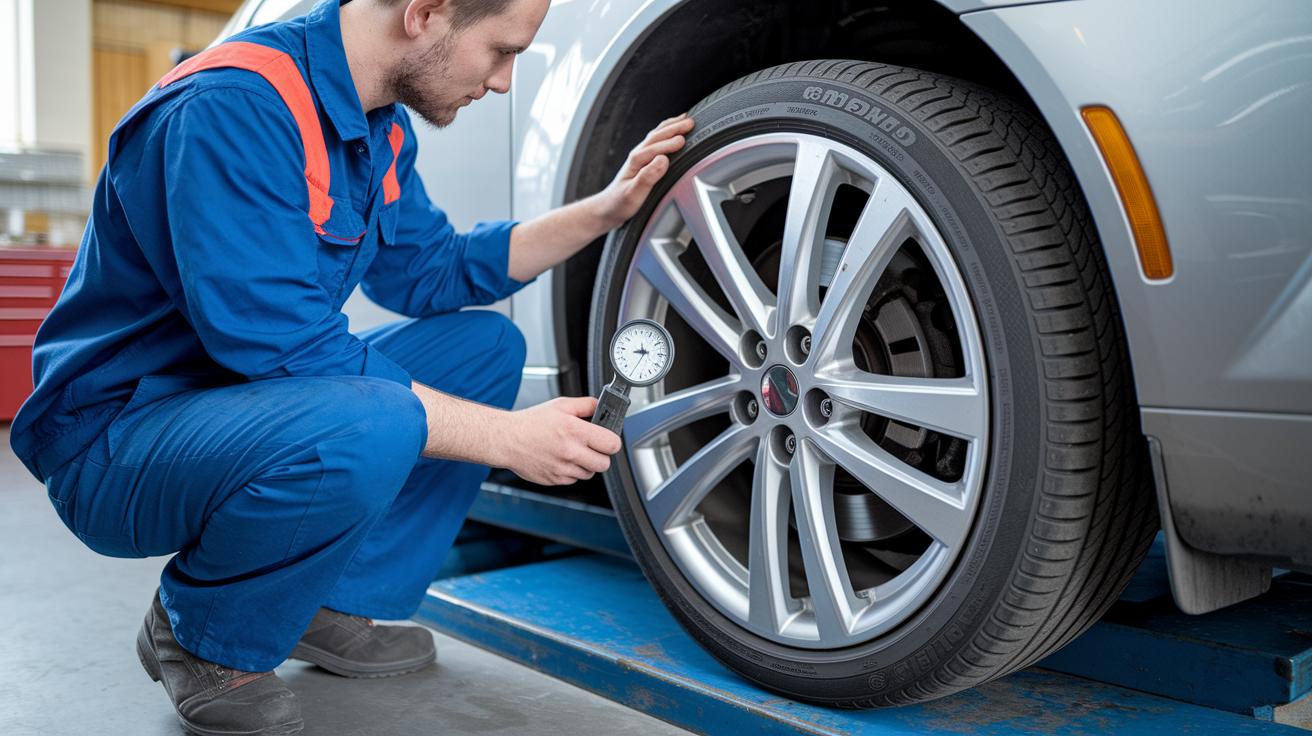
Safety Checks for Your Car Before Tire Installation

Find a flat, calm area away from busy roads where you can park safely. Engage the parking brake and turn on your hazard lights to make sure nothing distracts you. This way, you can focus on getting your car ready without any worry.
Take a minute to check your car’s fluids. Peek at the engine oil, brake fluid, coolant, and transmission fluid levels. Then, have a good look underneath for any leaks, dents, or corrosion. For instance, carefully inspect the frame and nearby parts to catch any odd damage early.
Pay close attention to the brakes next. Check the brake pads (the ones that slowly wear down) and see that the fluid is in good shape, too. This keeps you aware of things like low fluid or worn-out pads before they become a bigger problem.
Before you lift the car, put the jack under the reinforced frame points and secure it with wheel chocks. It’s also smart to keep an emergency kit nearby with gloves, a flashlight, and a warning triangle for any surprises along the way.
Inspecting and Cleaning Wheels and Hubs Before Tire Installation

After taking off the old tire, start by giving the hub surfaces a good scrub. Use a stiff brush to clear away all the dirt and brake dust so that the new tire sits comfortably on a clean spot. Think of it like wiping off crumbs from your kitchen counter before cooking, it makes all the difference in the end.
Next, take a close look at the rim faces for any little nicks, dents, or signs of rust. If you see any stubborn grime, grab a wire brush and clean it off, and if necessary, spray a little anti-corrosion liquid on any rusty spots. This care makes sure the metal stays in top shape and keeps rust from getting worse over time, leading to a safer tire installation.
Finally, check the new tire's tread depth against the numbers provided by the manufacturer. While you’re at it, glance over your old tires to spot any uneven wear that might hint at suspension or alignment issues. Taking the time to check these details helps ensure your tires are the right fit and can even catch problems before they become a bigger deal.
Setting Proper Tire Pressure and Inflation Techniques for Installation
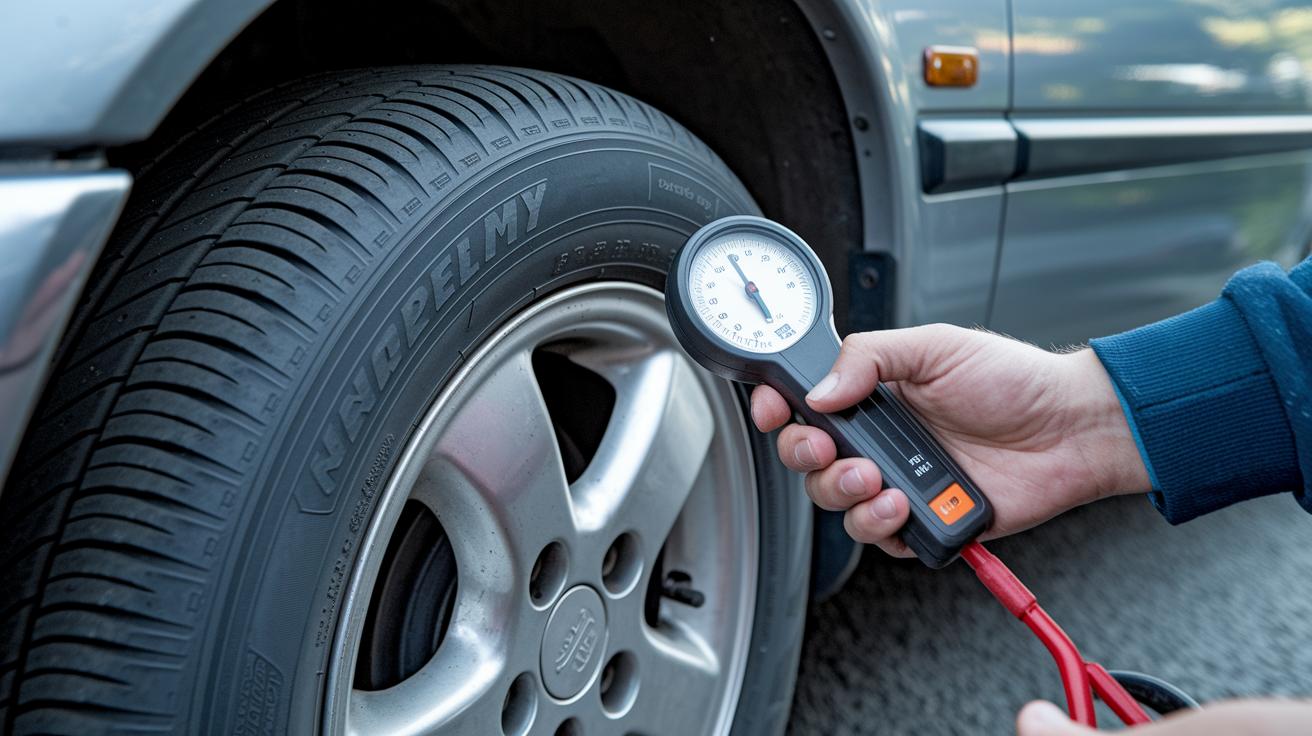
Getting your tires inflated just right is super important for a smooth, safe ride. Start by using a trusted gauge to check your tire pressure against what your vehicle’s maker recommends, usually between 32 and 35 PSI (that’s the right amount of air inside your tire). Think of it like setting the stage for a great performance, the tire bead (the edge of your tire that fits onto the rim) will seat properly when the pressure is accurate. A handy tip: add air slowly until the gauge reads a bit above your target, then adjust once the tire is mounted.
Before you install your tire, check that your valve stems are in good shape and leak-free. If you notice any air escaping, swap them out right away. Pre-inflate the tire slightly above the recommended pressure; this extra puff makes it easier for the tire bead to settle solidly on the rim. Once your tire is in place, ease the pressure back down and give it another quick check to nail that perfect inflation.
Keeping your tires at the ideal pressure has some major benefits. Steady tire pressure helps reduce uneven wear, improves fuel efficiency, and gives your car smoother handling. When your inflation technique is on point, you get a steadier drive and dodge problems like vibrations or premature tire wear.
Alignment and Balance Preparations for Tire Installation
Before you put on your new tire, take a moment to check your wheel's alignment using a simple gauge or a straightedge. This helps you measure camber (the tilt of the wheel) and toe (how the wheels point) and can show if uneven tire wear is starting. It’s just like making sure a picture frame hangs straight at home.
Next, give the hub and rim a good clean. Removing dirt and grime is important so that any balance weights will stick properly. Think of it like wiping down a dusty table before you set up a board game, it makes a big difference in keeping everything in place.
Then, take off any old balance weights and use a dial indicator (a tool to check for wheel wobble) to measure runout, which is that small wobble in the wheel. This step helps you spot tiny problems and shows you where to adjust for a proper balance. It’s a bit like tuning a musical instrument so that every note sounds perfect.
After you seat the new tire, tighten the lug nuts in a star pattern using a torque wrench set to the manufacturer’s guide. This step makes sure the pressure is even across the wheel. Sometimes, getting a professional to check your tire installation and alignment can help solve any lingering issues with your suspension angles.
Final Pre-Mounting Review and Troubleshooting Your Car for Tire Installation

Before you finish mounting your new tire, do one last check to make sure everything is in order. Grab your torque wrench (that’s the tool that helps you tighten bolts to just the right tightness) and set it to the manufacturer’s number. Then, give the wheel a spin by hand to see if anything is rubbing or blocking its path. While you’re at it, feel around the tire’s edge (the bead) and near the valve stem for any air leaks. Taking a few extra minutes now can help you avoid problems like the tire not sitting evenly or missing a pressure check when you’re out on the road.
If you notice any issues with your tools, make a note and fix them as soon as you can. It might also be wise to review your tire mounting warranty and get a pro’s advice if the problem doesn’t go away. This final check is all about making sure your tire installation is safe and meets quality standards.
Pre-Mounting Checklist
- Confirm the torque spec
- Clean the hub and rim
- Make sure the bead is seated properly (that’s where the tire meets the rim)
- Check the valve stem for any damage
- Test that all your tools are working correctly
- Verify the wheel alignment marks
Troubleshooting Common Installation Issues
- Air leaks (replace the stem if needed)
- Gaps in the bead (re-seat the tire)
- Torque tool errors (calibrate the tool)
- Misalignment (double-check the camber or toe settings)
Final Words
In the action, we broke down each step, from choosing a safe, clear spot and gathering necessary tools to checking safety features and cleaning wheels. We covered proper inflation, alignment checks, and a final review to catch any issues early. Following these steps makes installing tires a smooth process, keeping your ride safe and efficient. Taking these measures not only boosts performance but also extends tire life while preparing your car for tire installation.
FAQ
Q: Preparing your car for tire installation checklist
A: The car preparation checklist covers selecting a flat, safe area, engaging the parking brake, and turning on hazard lights. It also means gathering key tools like a lug wrench, jack, and spare tire to keep you safe.
Q: What are wheel and tire packages and how are they mounted and balanced?
A: Wheel and tire packages include both wheels and tires that come pre-assembled. They are mounted and balanced to ensure the parts work together for even wear and smooth performance from the start.
Q: What is a wheel and tire builder?
A: A wheel and tire builder is a service that customizes your set by matching specific wheels with tires to fit your vehicle. This service offers options for style and performance tailored to your needs.
Q: How do you install wheels?
A: Installing wheels means removing the old set, placing and aligning the new wheels, tightening lug nuts by hand, and then using a torque wrench to check that everything is secured for safety.
Q: What current tire deals exist?
A: Current tire deals change over time and can include seasonal discounts, online promotions, and special bundle offers. Checking local retailers or websites gives you the latest savings and options.
Q: What defines a cheap tire and rim package?
A: A cheap tire and rim package offers quality basics at lower prices. It combines affordable tires and rims while providing reliable performance and meeting essential safety standards.
Q: What is Tire Rack Black Friday promotion?
A: Tire Rack Black Friday promotions feature special discounts, bundle offers, and added savings on tires and rims during the sales event, giving drivers the chance to save money on essential services.
Q: What is the 3% rule for tires?
A: The 3% rule for tires means that a small variation of about 3% in tire wear or performance is acceptable. This guideline helps keep your tires balanced and their performance consistent throughout use.
Q: Are you supposed to tip for tire installation?
A: Tipping for tire installation isn’t mandatory but can be a kind gesture if you appreciate the service. A small tip shows friendly acknowledgment of the technician’s effort and care.
Q: How long does a typical tire installation take?
A: A typical tire installation takes about 30 to 60 minutes. This time frame includes removing the old tires, mounting the new ones, balancing them, and performing final safety checks.
Q: What is a good practice when installing new tires?
A: A good practice when installing new tires is to inspect your vehicle and workspace first. This means checking that tools work properly and the car is ready so that the installation is both safe and efficient.
