


Ever thought about setting your tire alignment on your own? It might sound a bit scary at first, but with a few simple tools and a clear guide, you can save some money and help your car run smoother. You’ll learn how to check your tire pressure (that’s the air inside your tires), steady your car, and measure your wheels properly. This DIY project lets you take charge of your car’s care while keeping your expenses down. Ready to take the wheel and give it a try?
DIY Tire Alignment: Complete Step-by-Step Home Guide
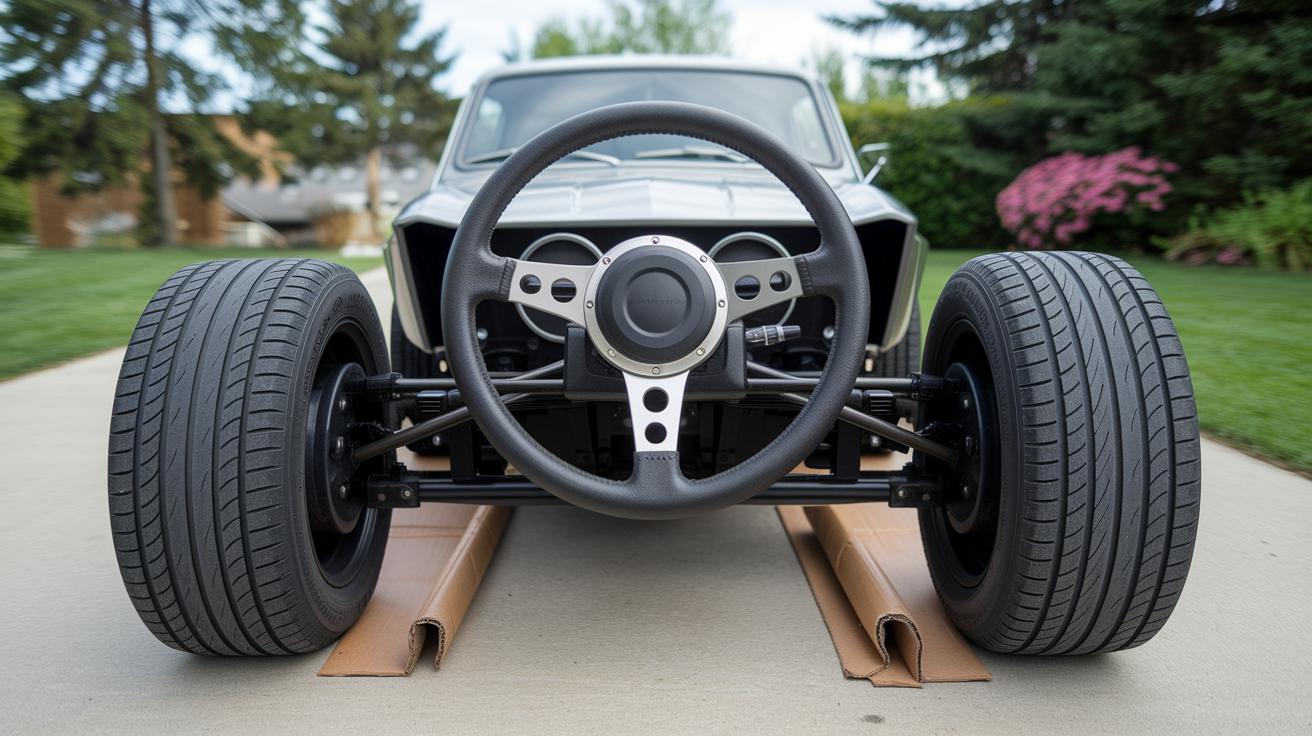
Ever glance at your tires and notice that the outer part looks nearly bald? That little detail can be a sign your wheels might be off. With a few household items and some basic tools, you can handle your wheel alignment at home and save a bit of cash.
First things first, check that your tires are properly filled with air. A good tire pressure (PSI) reading makes all the difference when setting things right. Next, set up a couple of sturdy supports like cardboard pieces or step stools behind each tire. This helps keep your car steady while you work. Then, make sure your steering wheel is centered so your measurements come out even.
Now, wrap a piece of nylon string around all four tires, keeping it exactly 1 inch away from each tire's center cap. With this string in place, measure the gap between where the string crosses the front and back of both left and right rims. The aim is to see the distances match closely, or be off by no more than 1/16 inch, which sets the correct toe-in (the angle at which the tires point toward or away from each other).
Here are the steps to follow:
- Check and note your tire PSI.
- Place two pieces of cardboard or step stools behind each tire.
- Center the steering wheel.
- Loop a nylon string around all four tires, keeping it 1 inch from each center cap.
- Measure the distance between the front and rear string lines on each rim.
- Ensure the measurements are almost the same, with only up to a 1/16 inch difference.
- Loosen the tie rod lock nuts, then turn the tie rod a quarter turn to adjust the toe.
- Return the wheel to center, tighten the lock nuts, and check the measurements again.
- If needed, use a tape measure as an extra check to compare the distances at the front and back edges of the rims.
| Method | Key Characteristics |
|---|---|
| String Method | Visual alignment with string and step stools |
| Tape Measure Method | Direct measurement of rim edge distances |
For the most accurate results, it might be a good idea to have a professional shop perform a follow-up alignment check.
Essential Tools and Budget-Friendly Kits for DIY Tire Alignment

Before you get started on aligning your wheels, grab a few simple tools that won’t empty your wallet. With a few easy-to-find items, you can keep the cost under $50 – way less than the usual shop fee. It almost feels like a fun project instead of a pricey repair bill. For example, a tire pressure gauge (a tool that helps you check how firm your tires are) and an adjustable wrench for fixing tie rod nuts give you the precision you need to enjoy a smooth ride.
Here’s a quick look at the budget-friendly tools you’ll need:
- Tire Pressure Gauge – about $5
- Adjustable Wrench for Tie Rod Nuts – around $8
- Tape Measure – roughly $3
- Nylon String – about $2
- Two Step Stools or Stacked Cardboard – usually free or very low cost
- Jack and Jack Stands – roughly $30
- Optional: Camber Gauge or Smartphone Inclinometer (a DIY tool to check tire angles) – under $30
Think of it like setting up your very own tuning station at home. With these affordable tools, you can enjoy precision and the satisfaction of a job well done without spending a fortune.
DIY Tire Alignment: Measuring Camber, Caster, and Toe at Home
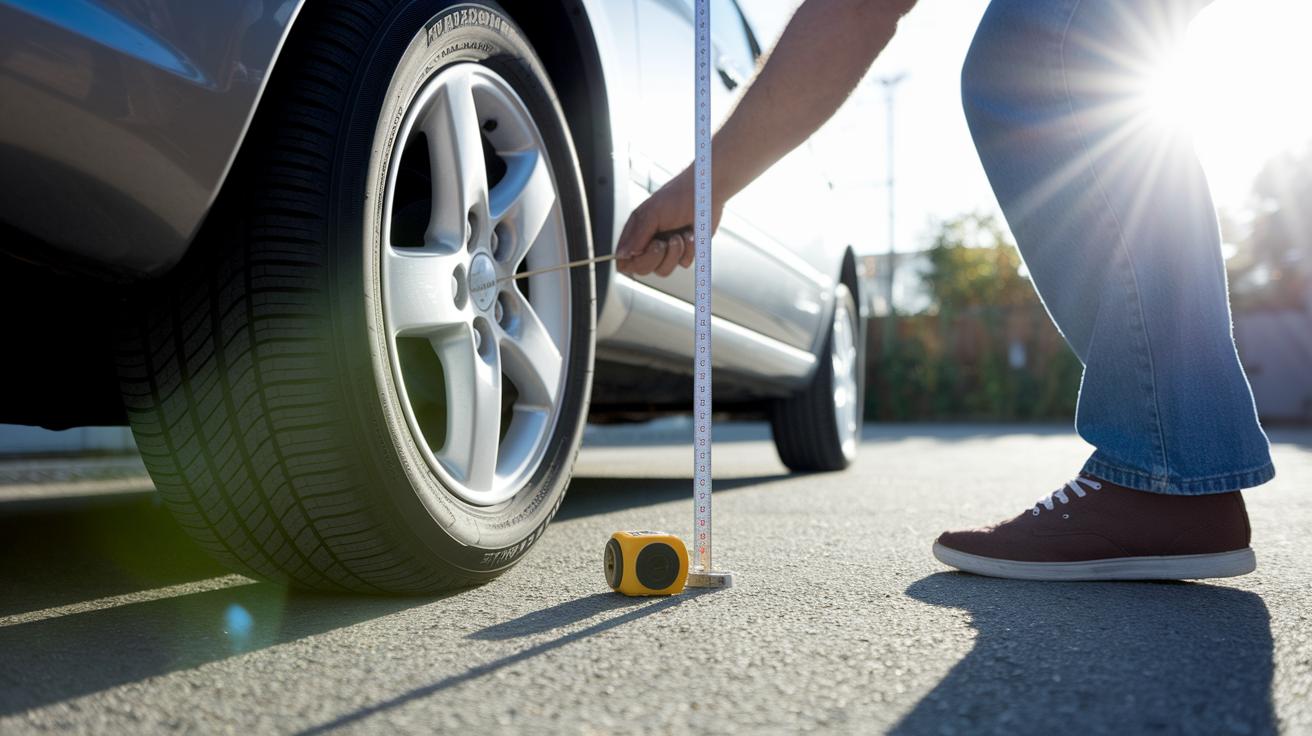
Begin by checking your tire angles with everyday tools you likely have at home. For camber (the tilt of the wheel, either leaning in or out), use a simple plumb line, a string with a weight at the end that hangs straight down, and measure from the top and bottom of the tire to that line. Keep camber within about ±0.5°. It’s a bit like making sure your picture frame hangs straight on the wall.
Next, check the toe. This is all about comparing the front and back edges of your tire. Take a tape measure or a piece of string and see if one side is a little longer than the other. You’re aiming for about 1/16 inch of toe-in or none at all. Think of it like checking that your car’s shoes (the tires) are lined up properly.
Then there’s caster, which is the tilt of your steering axis. Use a simple inclinometer (a tool that shows you the angle) to measure it. A positive caster between 2°–4° helps your steering feel tight and your tires stay steady, much like a level tool that isn’t off by a couple of degrees.
| Angle Type | DIY Measurement Method | Acceptable Range |
|---|---|---|
| Camber | Measure the distance from the top and bottom of the tire to a plumb line | ±0.5° |
| Toe | Use a tape measure or string to compare the front and rear tire edges | About 1/16″ toe-in or zero |
| Caster | Check with an inclinometer on your steering column | 2°–4° positive |
It’s a bit like fine-tuning your guitar, small tweaks can have a big impact on how everything sounds or performs. Happy aligning, and remember, even small adjustments can make your ride feel much smoother.
Troubleshooting Common Issues and Fine-Tuning Your DIY Tire Alignment

Sometimes a small mistake can throw off your measurements and leave your car feeling less smooth on the road. You might find that a misread string or a wobbly support makes you question your work. If things seem off, take a moment to check that your supports are firm and level, just like you would steady a picture frame before hanging it.
Here are some common issues and simple fixes:
- Uncentered steering wheel messing with your readings – make sure to re-center the wheel before you take any measurements.
- Loose or unstable supports such as step stools or stacked cardboard – secure or move them to get a steadier base.
- Unequal tire pressure that looks like an alignment problem – check and balance the PSI across all your tires.
- Over-adjusted tie rods that lead to a bumpy steer – gently retighten the hardware and avoid twisting the tie rod too much.
- Inconsistent performance after your adjustments – go for a short road test and then re-check your measurements. This helps you figure out if the problem is due to tire balancing or alignment differences (https://tityres.com?p=3168).
Taking a little extra time to double-check these points during your DIY tune-up can really help keep your car feeling smooth and responsive. Trust me, when you pay attention to these details, you can save a lot on professional fees while keeping your ride safe and steady.
DIY Tire Alignment vs Professional Service: When to Seek Shop Assistance
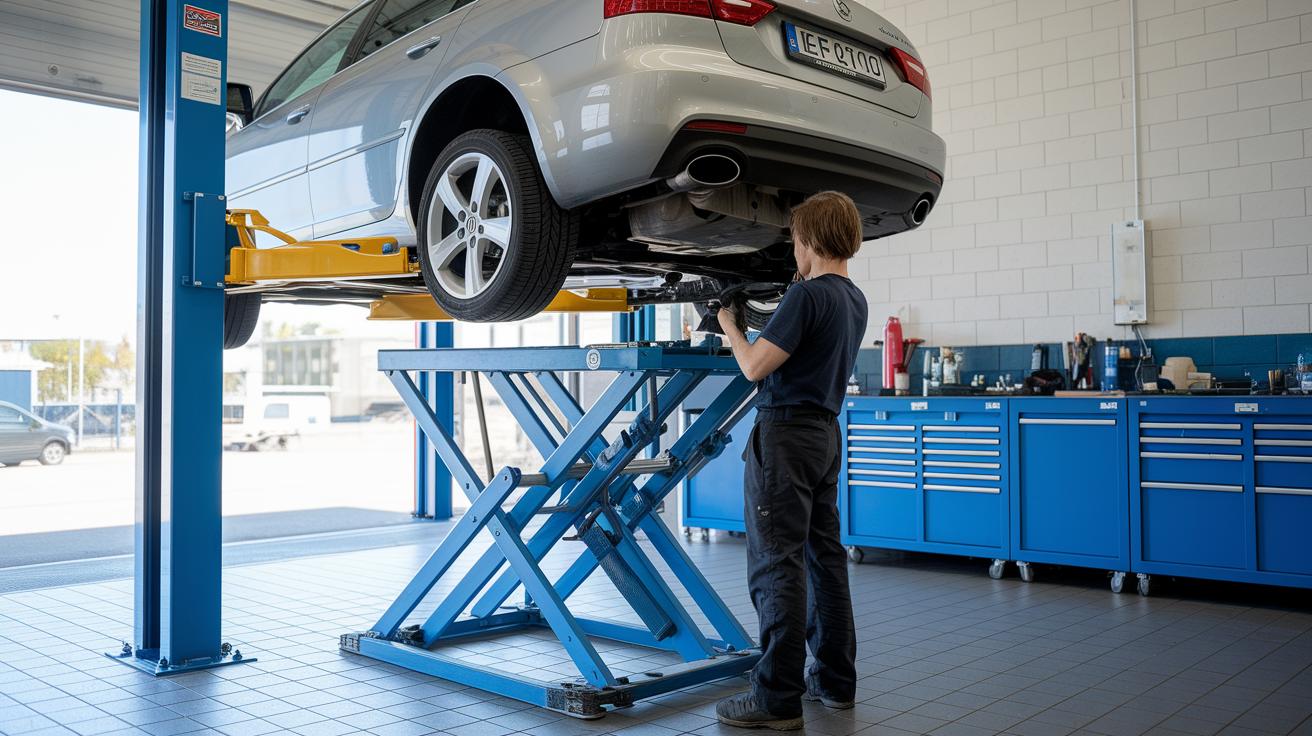
If you're handy with your car, you might try adjusting basic settings like toe (the direction your tires point) and camber (the tilt of your tires) to save some money. But when it comes to more detailed measurements, like the thrust angle (which checks how your wheels line up) or rear toe, you'll need a professional's help with their precise tools.
If your car’s been in a collision or needed big suspension repairs, it’s a good idea to have a pro check your alignment. Often, worn suspension parts can throw off the way your car handles on the road. Experts suggest getting a professional alignment check every 10,000 miles for safe and reliable handling.
- Post-collision or major suspension work
- Uneven tire wear that goes beyond simple toe or camber issues
- When you need exact adjustments for thrust line and rear toe changes
Cost Savings and Safety Precautions for DIY Tire Alignment
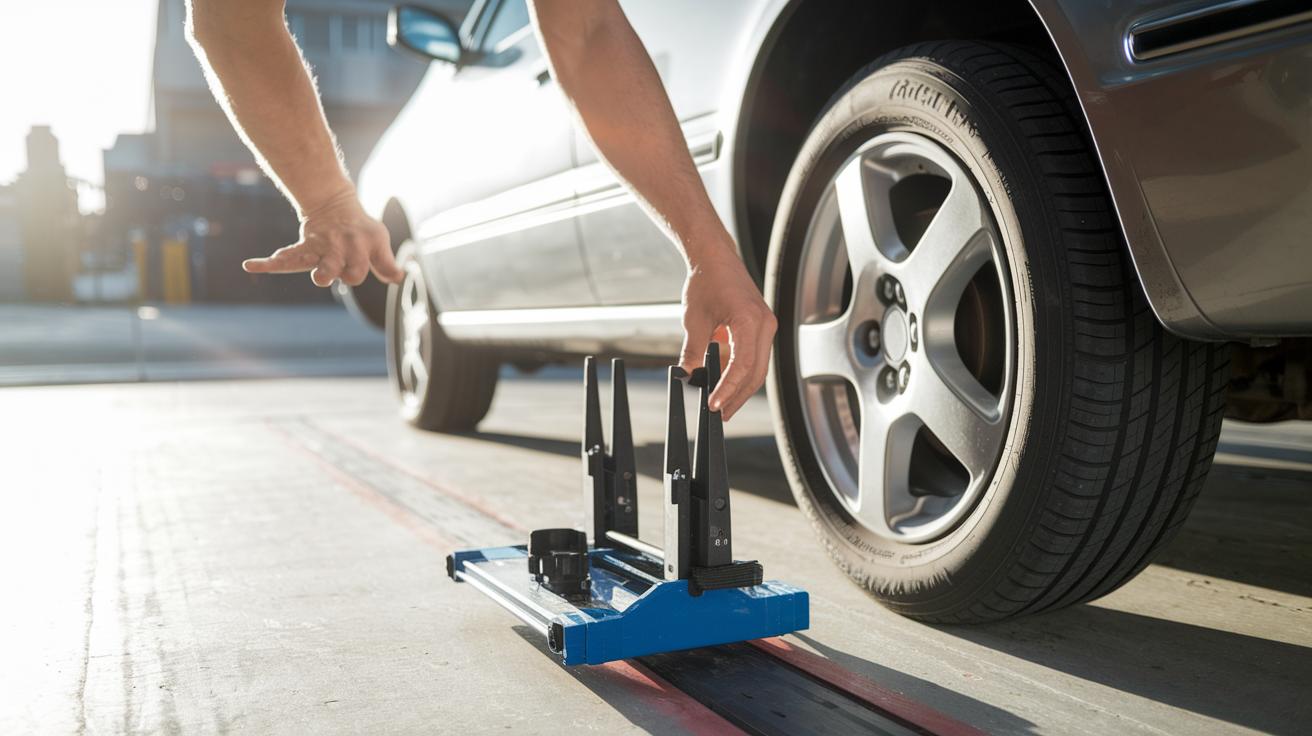
Doing your own tire alignment can really cut down on costs. Most professional shops charge between $80 and $150, while a basic tool kit for aligning your tires runs about $30 to $50. Imagine spending only around $45 for your kit instead of paying $120 at the shop. Check out this simple cost comparison:
| Method | Cost Range | Example |
|---|---|---|
| Professional Alignment | $80–$150 | Shop fee |
| DIY Alignment | $30–$50 | Tool kit cost |
Safety should always come first. Always wear gloves, use jack stands on a flat surface, set the parking brake, and secure your wheels. Here are a few extra safety pointers:
- Check the tire pressure before you start, as uneven pressure can mess up the alignment (tire pressure means the air inside your tires).
- If you can, ask a friend to help keep an extra eye on things.
- Make sure you use high-quality jack stands that can hold your vehicle’s weight.
- Look over your tools for any signs of wear before using them.
One time, a driver checked the tire pressure before starting and found that one tire was noticeably low. Fixing the pressure first meant they avoided a bad alignment and a potentially unsafe ride.
Final Words
In the action, you now have clear steps to try tire alignment diy right at home. We walked through checking tire pressure, setting up supports, and even fine-tuning tie rods. Each method, from using string to tape measure, shows you how to keep your wheels steady and your cost low.
Taking care of these details helps you drive with safety and confidence. Enjoy the smooth ride that comes from knowing your vehicle is set up right.
FAQ
What are some good DIY tire alignment kits?
A good DIY tire alignment kit includes tools like a tire pressure gauge, nylon string, adjustable wrench, and tape measure, all for less than $50. These kits help you set up your own alignment at home.
How do I do wheel alignment at home with string or without a machine?
Using string, you can wrap around all four tires while using step stools or cardboard for support. Measure equal distances at the rims and adjust tie rods to fine-tune alignment without expensive machines.
What is a DIY alignment calculator?
A DIY alignment calculator lets you input measured distances to determine if your wheels have the proper toe angle and alignment. This helps you track adjustments and achieve better handling.
Can I realign or do a tire alignment myself?
Realigning your wheels is something you can do yourself when you follow clear steps and use the right tools. Taking your time with measurements often results in safe, improved tire performance.
How accurate is DIY wheel alignment?
DIY wheel alignment is fairly accurate for basic adjustments like toe and camber. It’s a hands-on method that works well, but a professional check-up after your work can offer extra confidence.

