


Have you ever noticed how a tiny tire valve issue can turn a smooth ride bumpy? Even a loose cap or an old valve can let air slip away when you least expect it.
In this guide, we're taking you through a simple, step-by-step check-up for your tire valves. We explain each part clearly so your tires stay in great shape, keeping those pesky leaks at bay.
Stick with us, and you'll pick up a few quick tips that might just save you time and money on your next drive.
Complete Tire Valve Maintenance Workflow
Taking care of your tire valves is a smart move to keep your ride safe and smooth. It helps you dodge unexpected air leaks and makes sure your tires perform just right. Here’s a simple step-by-step routine you can follow.
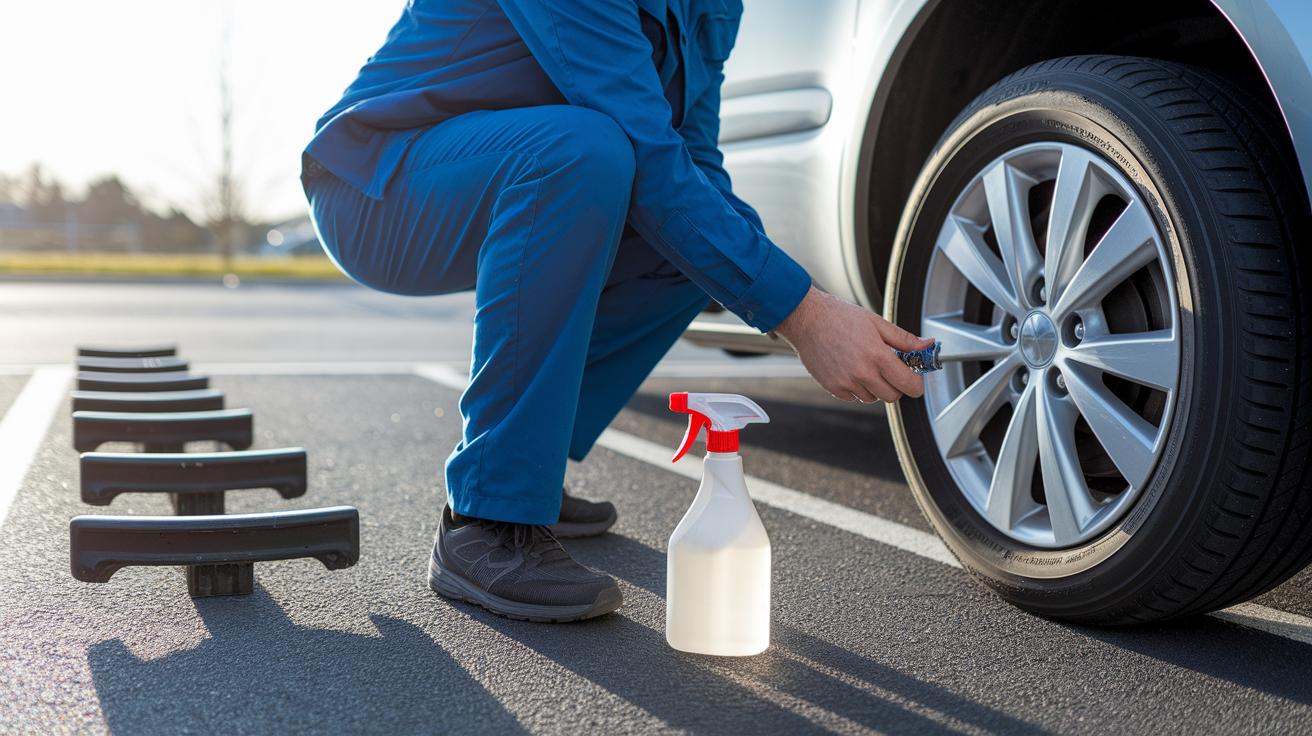
First, get your safety set up. Park on a level spot and use wheel chocks so the car doesn’t roll around. Then, take the valve cap off and give it a good look. Check if there’s any damage or dirt that might mess with how it works.
Next, inspect the valve stem and core carefully. Look for any cracks, rust (which can cause leaks), or any signs of wear. If you spot any buildup, use an approved cleaner and a small brush to gently scrub it off.
After cleaning, mix some soapy water and spray it onto the valve. If you see steady bubbles forming, that means you might have a leak. Once everything checks out, put the cap back on, set your pressure gauge, and fill the tire up to the manufacturer’s PSI.
I usually run through these steps every six months or about every 5,000 miles to keep my tires in tip-top shape, and it really helps ensure a safe, smooth drive.
Essential Tools and Equipment for Tire Valve Maintenance
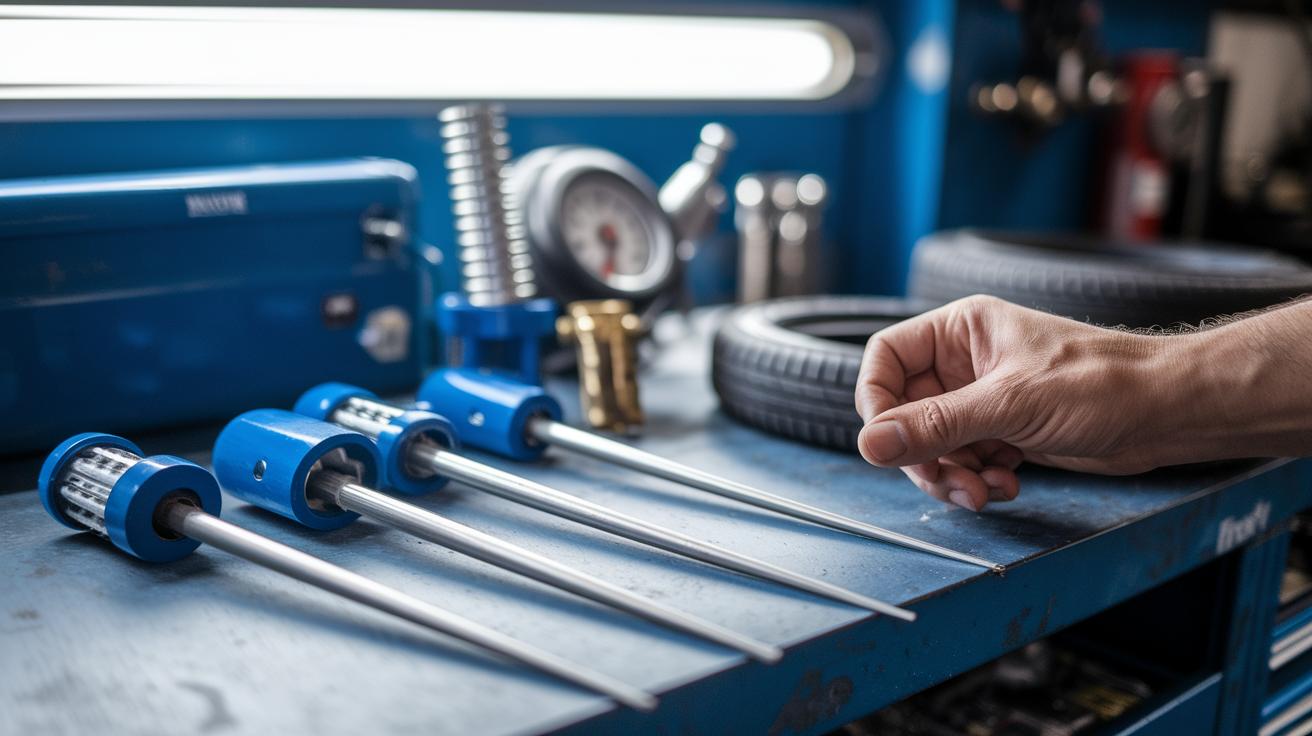
Keeping your tires in good shape starts with having the right tools. When you choose quality gear, you make your maintenance work safe and easy. Using professional equipment that meets top safety standards means you can handle tire care with confidence.
| Tool | Purpose | Specification |
|---|---|---|
| Valve core removal/installation tool | Helps you quickly take out and put in valve cores | Works with standard cores and has an easy grip |
| High-accuracy pressure gauge | Measures tire pressure accurately | Digital design, calibrated to zero with ±1 psi variance |
| Small wire brush | Cleans the valve stem surfaces | Soft bristles that are gentle on delicate parts |
| Valve stem puller | Makes it safe to remove valve stems | Fits most stem sizes |
| Nitrile gloves and eye protection | Keeps your hands and eyes safe while you work | Standard safety quality |
| Silicone-based cleaning solvent | Clears away dirt and buildup from valve parts | Safe for auto use |
Remember to always put on your protective gear and check your tools regularly to keep them in top shape.
Tire Valve Inspection and Cleaning Procedures
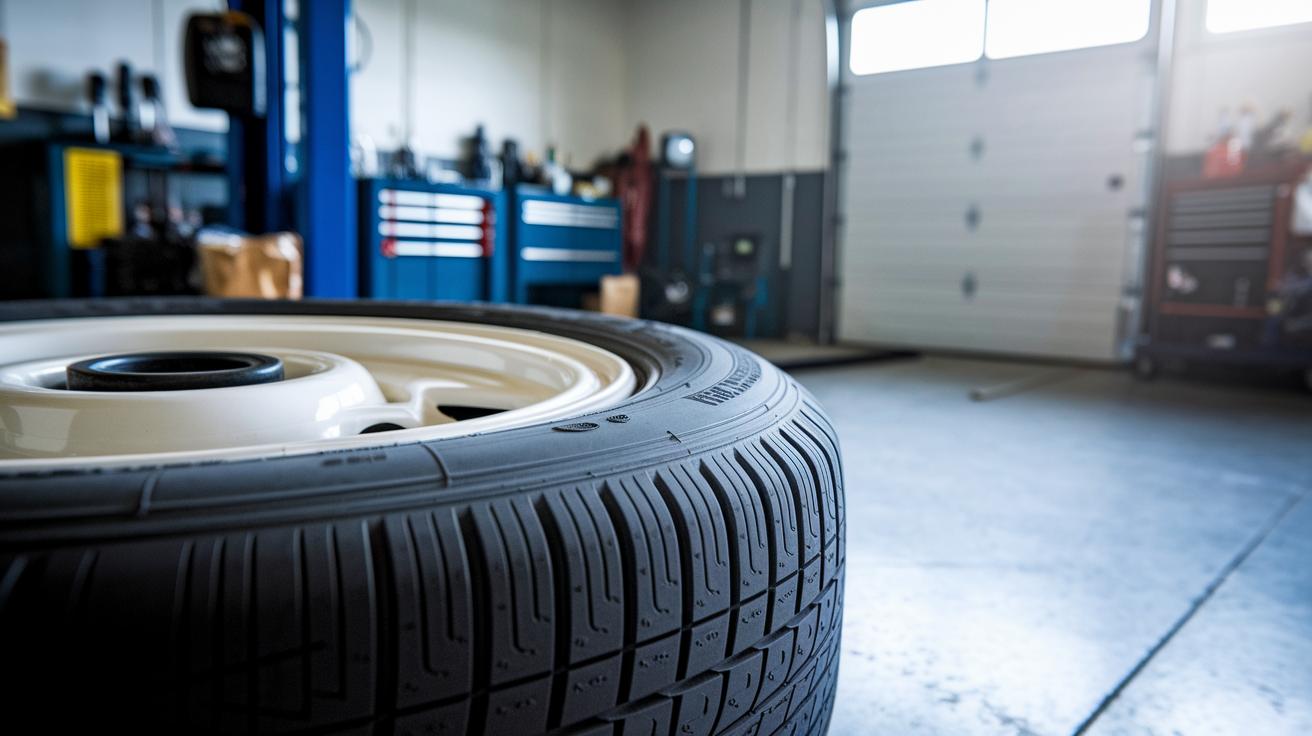
Every month or at each oil change, take a close look at your tire valve. Check for any cracks, rust, or bends on both the valve stem and core. Also, inspect the seal (that includes the O-ring and the area where the valve meets the rim) for any wear or hardening. It's a bit like checking your headlights for damage, clear visuals help keep your tire airtight.
Next, cleaning the valve is pretty simple. For light buildup, dab a bit of silicone-based cleaning solvent on the stem port, then gently scrub it with a wire brush and rinse off any dirt. If there's more stubborn buildup, scrub first and then use compressed air to dry the valve fully, which prevents moisture problems. And don’t forget to wear gloves and eye protection when handling cleaning fluids.
Air Pressure Monitoring and Calibration Guidelines

Keeping your tires at the right pressure is really important for a smooth and safe ride. Checking often helps your tires work well and stops surprises like sudden air loss.
Let’s walk through three simple steps to get your gauge reading just right:
-
First, check your gauge. Whether it’s digital or old school, put it on a flat surface and press the button. It should show zero. This little check makes sure your readings are true.
-
Next, measure your tire pressure when your tires are cool. It’s best to do this after your car has been parked for at least three hours. Warm tires can give you higher numbers, so let them cool down a bit first.
-
Finally, compare your number to the car maker’s recommendation. For many cars, that number is about 32 to 35 PSI (pounds per square inch). Write the numbers down and, if needed, adjust the pressure slowly using an air pump.
Remember, changes in temperature and weather can affect tire pressure. It might help to keep a small notebook or use an app to track your readings every week or before a long drive. This way, you always know your front line of safety is in check.
Troubleshooting and Leak Prevention for Tire Valves
If you think your tire might be leaking, start by brushing some soapy water on the valve stem, base, and core. Watch closely for a string of bubbles, because that steady bubbling means air is escaping. It’s similar to checking a garden hose for a weak spot, if the bubbles keep coming, something isn’t right. Often, the leak can be due to a rusty core spring, a cracked rubber stem, or dirt stuck in the valve port. Notice any signs of rust or splits? They can stop the valve from keeping the air pressure just right.
To fix the problem, try tightening up the valve core using a tire valve tool first. If that doesn’t work, then it might be time to replace the valve core. And if the stem is cracked or looks bent out of shape, swapping the whole valve stem assembly is the best idea. Sometimes a little bit of approved sealant gel rubbed around the valve can slow down small leaks. Once you’ve taken care of the repair, fill your tire to the correct pressure and check it again after 24 hours to make sure it stays firm. This final step helps make sure no sneaky issues are still lurking.
Replacement Tips for Valve Cores and Stems
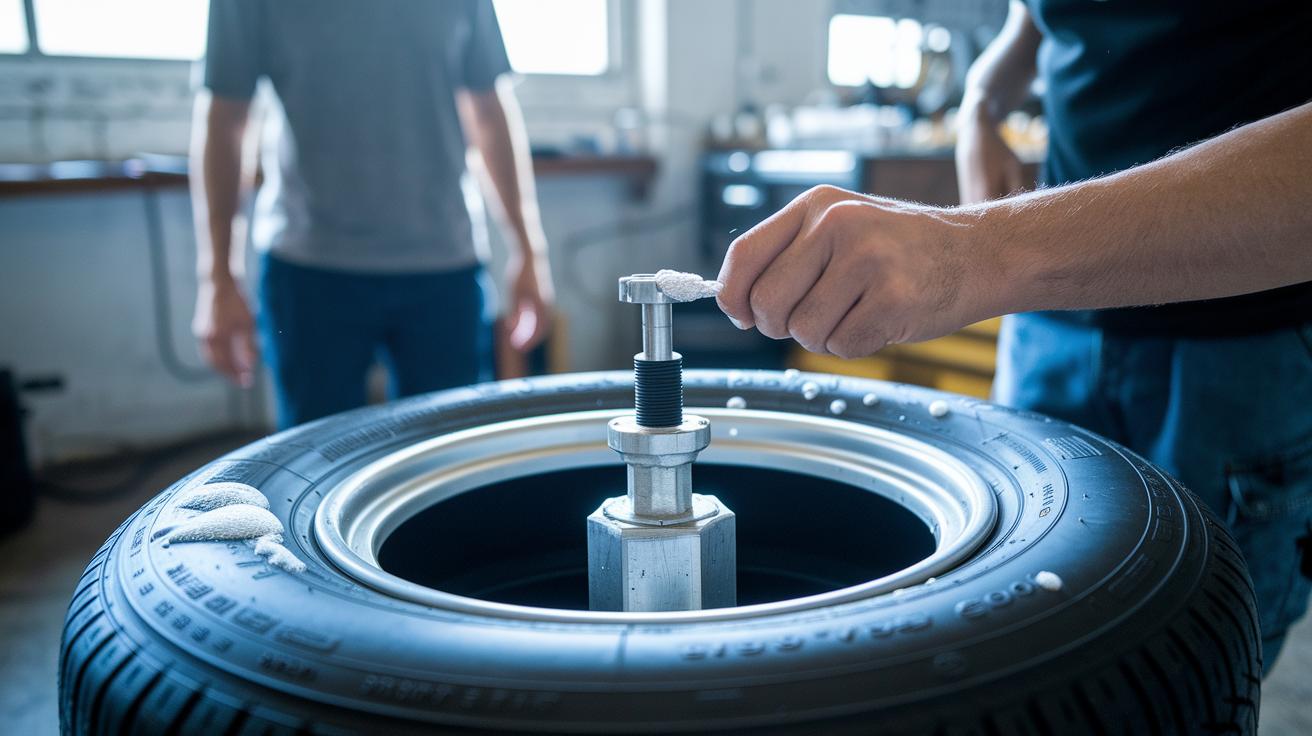
Before you get started, let your tire lose all its air so it reads 0 PSI. This small step stops any sudden bursts of air while you work. Next, grab your valve core tool and carefully pull out the old core. As you do this, take a minute to check the valve seat for dirt or buildup that could mess with your new part.
After cleaning the valve area, screw in your new brass or plated core. Tighten it just a little, about 2 to 4 in-lb, to lock it in place and keep it airtight. Getting the torque right stops unwanted air leaks, and trust me, that smooth seal makes a big difference.
When the valve core is looking good, it’s easier to handle the stem if it starts showing signs of damage. If you spot a cracked or bent stem, trim off the damaged bit and fit a whole new stem assembly. Don’t forget to use a bit of lubrication on the o-ring (a small rubber ring that helps seal the stem) so the new stem seats properly without extra friction. Always choose quality parts, like OEM or high-grade aftermarket options, to keep your tire in top shape and your ride smooth and safe.
Planning Your Tire Valve Maintenance Schedule

To keep your tire valves in good shape, it’s smart to check them regularly along with your tire rotations. I like to inspect them every 5,000–8,000 miles or during your twice-a-year service. And if you’re driving in the cold or in places with salty roads, checking them every three months helps catch any problems early.
It really helps to maintain a simple log of your valve care. Jot down the date, the PSI (a measure of your tire’s air pressure in pounds per square inch), and any work you did, be it replacing a small valve core (the part that lets air in) or just giving it a thorough clean. Whether you use a service book or a handy app, having these records makes it easier to track changes over time and plan your next maintenance visit.
Final Words
In the action we walked through key steps like safety prep, inspection, cleaning, gauge calibration, and troubleshooting. Each part of the guide helps keep your tires safe and performing. The step-by-step tips, from checking the stem and cleaning with solvent to replacing damaged parts, build a practical tire valve maintenance guide for steady air retention. Regular checks every 5,000 miles keep you on track. Knowing what to do makes tire care straightforward, and better maintenance means more time enjoying smooth, safe rides.
FAQ
How can I access a tire valve maintenance guide pdf?
The tire valve maintenance guide PDF provides a clear, step-by-step process to inspect, clean, and maintain your tire valves. Ford-specific versions may include details unique to their models.
What is a tire valve stem?
The tire valve stem is a small tube attached to your wheel that connects the valve core (that controls air flow) to the tire. It plays a key role in keeping your tire inflated.
How much does tire valve replacement cost?
Tire valve replacement costs vary, usually ranging from a few dollars for parts to a moderate fee for professional service. Factors include vehicle type, part quality, and labor charges.
What are tire valve caps?
Tire valve caps are small covers placed on the valve to stop dirt and debris from entering. They help maintain a secure seal that keeps your tire properly inflated.
What is a tire valve stem with sensor?
A tire valve stem with sensor has built-in technology to monitor air pressure continuously. It sends real-time updates so you can easily track if your tire pressure is on target.
How often should I change tire valves?
The need to change tire valves comes from visible damage or leaks. Check them during your routine maintenance, usually every six months or 5,000 miles, to catch any issues early.
How do I do valve maintenance?
Valve maintenance means following a six-step process: prepare safely, remove the valve cap, inspect the stem and core, clean, test for leaks, and reassemble the valve with proper inflation.
How do I clean a tire valve?
Cleaning a tire valve involves removing the cap, applying a silicone-based cleaning solvent, scrubbing gently with a small wire brush, rinsing, and drying thoroughly to avoid dirt buildup.
How do I tell if a valve stem needs replacing?
A valve stem needs replacing if you notice cracks, corrosion, or deformation, or if air leaks persist despite cleaning. This indicates that the stem may no longer create an adequate seal.
