


Ever thought about switching to tubeless tires to feel more confident on the road? This guide walks you through removing the inner tube (that little air pocket inside) and fitting a tubeless tire with simple, step-by-step tips from someone with over 20 years of riding experience.
You'll pick up handy tricks to ensure your tire seals properly and keeps leaks away. Plus, switching to tubeless isn’t just a tweak, it means smoother rides and a firmer grip that makes every trip feel a little safer.
Tubeless tire installation Sparks Confidence

In this guide, we walk you through switching your bike to a tube-free setup. Our expert, with over 20 years behind the handlebars, explains each step clearly for tires sized 700 × 28–40 mm. This method works best on tubeless-ready wheels that have a 21 mm inner-width clincher (a rim that fits the tire snugly), DT Ratchet hubs (simple locking parts), and Sapim CX-Ray spokes (strong, reliable rods). Each step is explained so you feel ready to roll, whether you ride on roads or off-road paths.
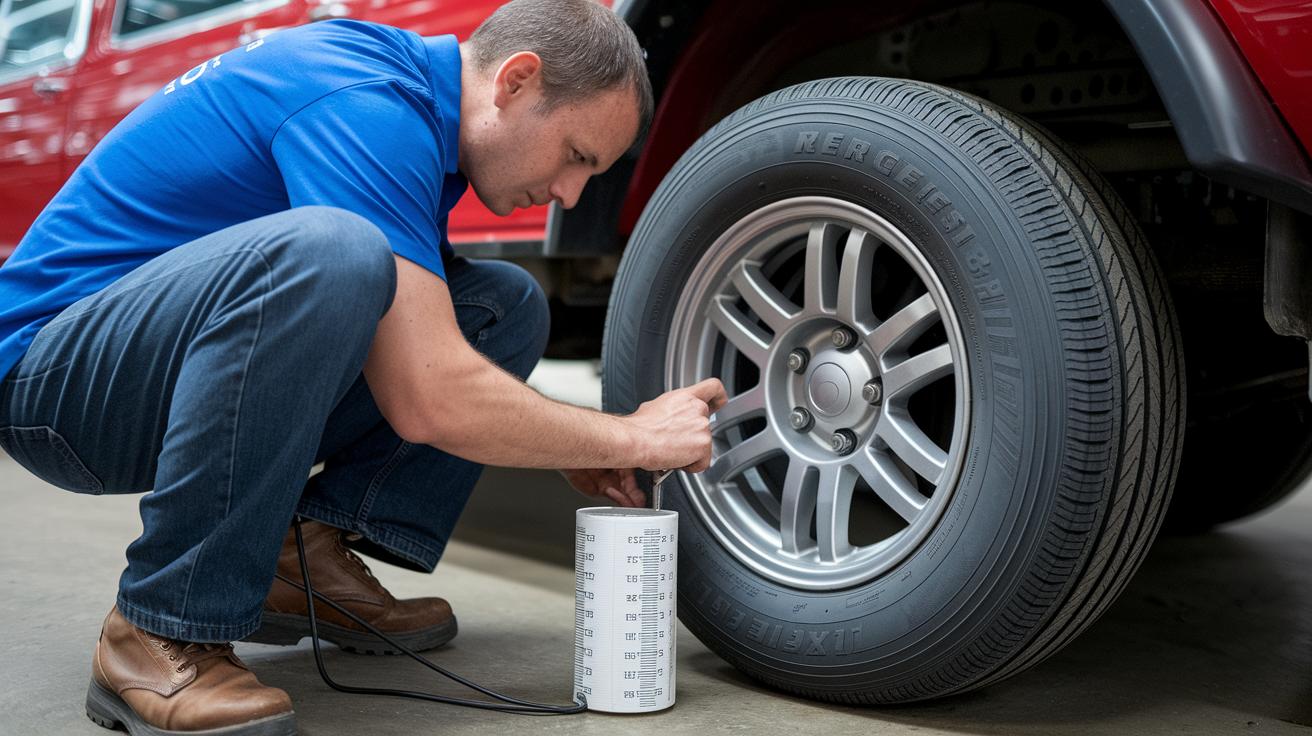
The trickiest part is getting the tire beads (the tire’s edges) to sit perfectly. Start with your floor pump to help them settle evenly. If they won’t lock into place, try the Pour Method (pouring air with a measuring cup and air compressor) or the Injection Method (remove the valve core and use a syringe with a compressor). Then, gently spin the wheel so the tire sealant spreads evenly. Pump up to the recommended PSI and double-check for any leaks. These smooth instructions help you complete a secure, leak-proof installation.
Here’s how to get started:
- Clean off the rim so no old tape or debris remains.
- Apply tubeless-specific rim tape that fits your rim channel just right.
- Insert the tubeless valve into the rim hole and tighten the nut by hand.
- Carefully mount the tire onto the rim.
- Evenly pour the tire sealant along the bead edges.
- Use your floor pump to help the tire beads settle.
- If needed, try the Pour or Injection Method with extra tools.
- Rotate the wheel to make sure the sealant covers evenly.
- Inflate to the manufacturer’s PSI and inspect for any leaks.
Essential Tools and Supplies for Tubeless Tire Installation
Getting your bike ready for a tubeless upgrade is easier than you might think when you have the proper tools. It’s a bit like planning a long, smooth drive where every detail counts. Having the right supplies means less guesswork and more confidence as you set up your ride.
You might want to check out our tire installation tools for even more ideas. Here are the must-have items for a smooth installation:
- Tubeless-ready wheels
- Liquid sealant (a long-lasting, premium product that works well with your rim and tire)
- Measuring cup to pour the sealant just right
- Floor pump to get that initial burst of air
- Valve core tool (this little tool helps tighten or replace the valve core – the part that holds in the air)
- Syringe for those who prefer the injection method
- Air compressor if you need extra power for the pour or injection techniques
- Spare valve cores, just in case of a small mishap
With these tools handy, you’re all set to get your tubing-free bike rolling smoothly. And remember, picking the right sealant can really make a difference – choose one that lasts and flows well so your tires keep a solid seal no matter where the road takes you.
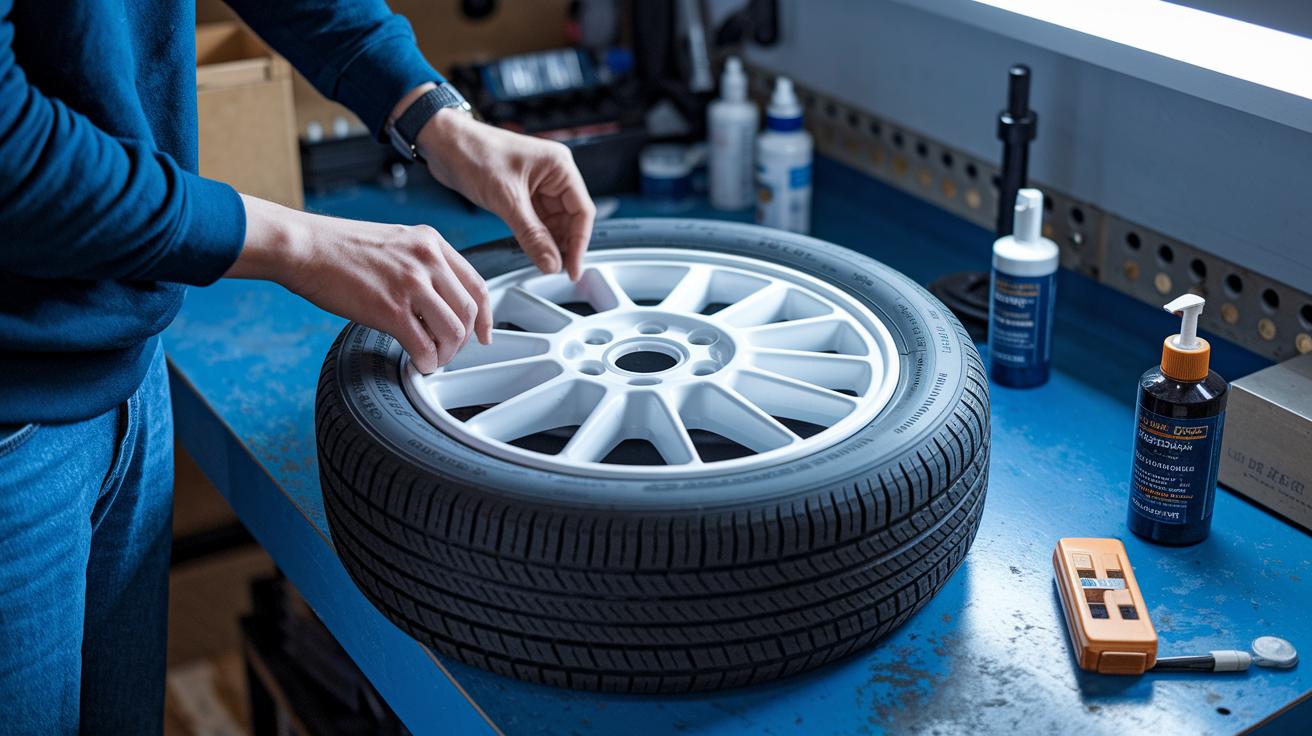
Preparing Rims and Tire Beads for a Leak-Proof Tubeless Setup

Start by cleaning your rim really well. Scrub off any old tape, dirt, and debris so you have a clean base. Think of it like getting a fresh, smooth canvas ready before you start painting. A spotless rim lets the tubeless tape (the special tape that fits your rim's width) stick properly for an airtight seal.
Next, pop the valve stem into the rim hole and tighten the valve nut by hand until it feels secure. Then, before you put the tire on, run the sealant evenly along the bead seat. This helps set up a steady air chamber. By matching the tape to your rim's channel width and spreading the sealant right, you'll feel more confident that your tubeless setup will hold up without any leaks on the road.
Comparing Sealant Introduction Methods in Tubeless Tire Installation
Pour Method
For this method, you start off by using a measuring cup to pour a set amount of sealant into your tire before the beads fully seat. It works best when teamed up with an air compressor that gives a quick burst of air to push the tire beads into the right place. A floor pump might help a bit in the beginning, but the compressor really delivers a strong, even blast to create a tight, air-free seal. The measuring cup lets you control just how much sealant you use, making sure it spreads nicely along the bead. It’s a simple, efficient technique that cuts down on waste while giving you the pressure needed for a secure fit.
Injection Method
With the Injection Method, you begin by removing the valve core from the tire’s valve stem. This way, you can use a syringe to carefully inject the sealant directly into the tire, minimizing any messy spills. Once you’ve added the sealant, quickly reinstall the valve core and switch on your air compressor for a fast burst of air. This quick air push helps the tire beads lock in firmly on the rim. It’s a neat, controlled process that not only limits waste but also ensures the sealant spreads evenly across the tire, making it a solid choice if you like a hands-on approach.
Troubleshooting Common Tubeless Tire Installation Issues

Sometimes your tubeless tire doesn’t seat right because the tire edges (those are the parts that seal to the rim) aren’t lined up perfectly or you didn’t pump in enough air at the start. When you notice one side not locking in properly, it might mean you gave it too little initial pressure. Try resetting the tire and then give it a good, steady burst of air. If one spot feels loose, add more pressure until it clicks into place.
Another common hiccup is a leaky valve stem. This happens when the valve (the little opening that lets air in) isn’t tightened enough. A loose valve can let out air slowly, causing your tire pressure to drop over time. Just give the valve a gentle squeeze after installation; if you feel air escaping, take a moment to tighten the valve core or adjust the nut until it holds firm.
And sometimes, you may notice your tire losing air persistently. This could be because the tape on your rim (the protective strip that helps seal the tire) is damaged or the sealant (the liquid that helps keep everything airtight) isn’t spread evenly along the tire’s bead. If you’re using a valve with a removable core, dried sealant might even clog it up. It helps to check the rim tape for damage and make sure the sealant is evenly applied. Regular checks like these can save you a lot of trouble and keep your tubeless setup running smoothly.
Post-Installation Maintenance and Sealant Management for Tubeless Tires

Once you’ve got your tubeless tires installed, it’s a good idea to check your sealant every couple of months. If it starts looking thin, just top it up using the injection method. This regular check keeps your tires airtight and helps you avoid unexpected punctures. Think of it like checking your oil, simple, routine, and it really works. Also, take a moment to look over your tires for any damage; just remember that most tubeless tires can’t be patched unless they are UST or butyl-lined models using a VP-1 vulcanizing kit.
After you’ve been on a long ride, try rotating your wheels so the sealant spreads out evenly. It’s also smart to keep your bike indoors at a steady, moderate temperature. This helps keep the sealant at the right consistency and prevents it from drying out or clumping. These little tips mean your tires stay leak-proof and perform well, giving you one less worry on the road.
Final Words
In the action, our guide walked through each step of tubeless tire installation. We tackled procedures like prepping rims and seating tire beads, compared Mix Method techniques, and showed you how to keep an eye on tire sealant over time.
These clear steps, along with careful troubleshooting, help drive your tire performance and safety. Use the expert advice and tools to keep your ride smooth and reliable. Enjoy the confidence that comes with a well-done tubeless tire installation.
FAQ
How do you install a tubeless tire without a compressor?
Installing a tubeless tire without a compressor means using a floor pump with special techniques like the Pour or Injection method. This approach relies on steady air pressure and proper bead seating to secure the tire.
How do you install tubeless tires on a road bike?
Installing road bike tubeless tires begins with cleaning and preparing the rim, applying tape and sealant evenly, and seating the tire bead quickly with a floor pump or compressor to achieve a secure, airtight fit.
What are some tubeless tire installation tricks?
Tubeless tire installation tricks include evenly spreading sealant before seating the bead, using the Pour or Injection method for a quick air burst, and rotating the wheel after inflation to help the sealant cover all gaps.
How do you install tubeless tires on non-bike equipment like wheelbarrows and lawn mowers?
Installing tubeless tires on wheelbarrows or lawn mowers follows similar steps to bikes: thoroughly clean the rim, apply the correct tape and sealant, place the tire bead properly, and inflate it evenly using available tools.
What is the tubeless tire install cost?
The tubeless tire install cost covers items such as tubeless-ready wheels, premium sealant, and any additional tools like an air compressor or syringe. Costs will vary based on the type of equipment and installation method used.
What tubeless tire sealant should I use?
Choosing tubeless tire sealant means selecting a premium liquid that works well with your rim and tire. High-quality sealants are designed to plug small punctures quickly and keep the tire airtight.
How do you set up tubeless tires on an MTB?
Setting up tubeless tires on an MTB requires cleaning the rim, applying tubeless tape, adding the right amount of sealant, seating the tire bead, and inflating to the recommended pressure to achieve a reliable, air-tight fit.
How do you put a tubeless tire on?
Putting on a tubeless tire starts with preparing the rim by cleaning and taping, inserting the valve securely, adding sealant, and quickly seating the tire bead with a fast air burst to lock in the seal.
What is the disadvantage of tubeless tires?
The disadvantage of tubeless tires is that bead seating can be challenging and improper setup may lead to sealant clogging or drying. Extra care and occasional maintenance may be necessary compared to conventional tires.
What must be lubricated before mounting a tubeless tire?
Before mounting a tubeless tire, a small amount of sealant often helps the tire bead slide into place. This light lubrication assists in seating the bead but should be used sparingly to keep the system airtight.
Do tubeless tires need sealant?
Tubeless tires need sealant because it fills in small punctures and gaps between the tire and rim, maintaining an airtight setup and offering continuous puncture protection with every ride.
